This week I was printing out a Recorder to add to my growing 3D Printed instrument collection when I was greeted with this very foreboding screen:
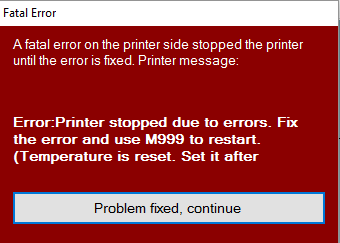
My 3D printer encountered a fatal error as the popup pointed out. Luckily the printer shut everything down or else something bad might have happened. This popup isn’t really very revealing about what that fatal error was however so I had to check the print log to see what exactly the error was. I was greeted with this:

The line is question is the second one: MINTEMP triggered ! Turns out the printer was reading the extruder temperature as zero degrees Celsius, not the temperature you want for melting plastic. So this meant that the failure occurred at either two parts of the temperature reading chain, either it was an issue with the electronics, either the RAMPS port or Arduino Mega analog circuitry was fried, or the thermistor itself was broken. The RAMPS port shorting out wouldn’t have been a big deal I could have used the other available port usually reserved for a second extruder and just switched it over in the firmware. However I was able to rule out an issue on the electronic’s side by attaching a 100k Ohm resistor to the RAMPS port and it got a reading of 20 degrees C. I was able to test because Thermistors are just resistors where the resistance reacts to the temperature, hence their name.
It was time to disassemble the extruder! I took off my cooling setup to be able to get at the nozzle, which is not a big deal at all, it only required removal of two screws.
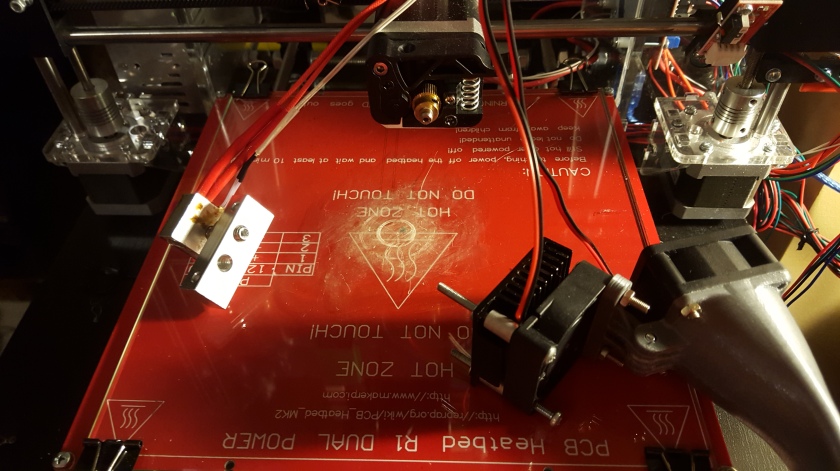
The thermistor is the white wires coming from the nozzle seen at the left. I was worried I might have to buy an whole new nozzle assembly but they are also very easy to remove, you only need to loosen a small hex screw on the side of the nozzle.
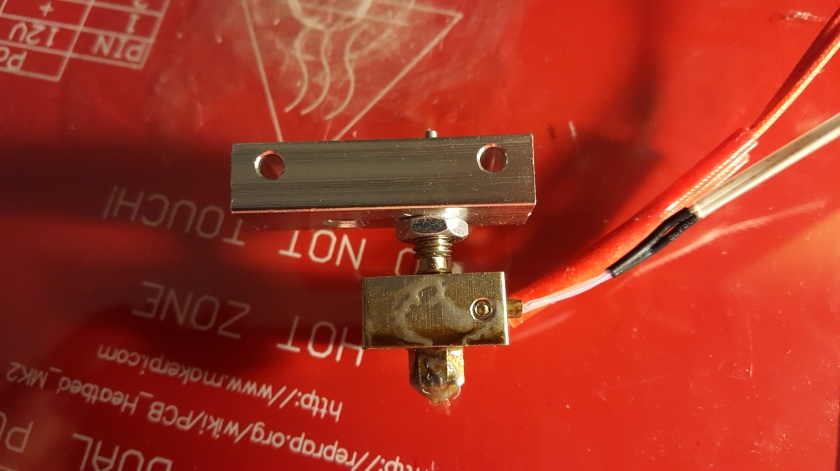
You can see the screw there keeping the thermistor in place. A visual inspection of the thermistor didn’t reveal much but testing it for resistance with my multimeter confirmed it was dead. Luckily for me, a replacement was only a 2 day amazon shipping away. I got a pack of five for 7 dollars which I’d consider pretty fair, especially if there’s any more failures like this.
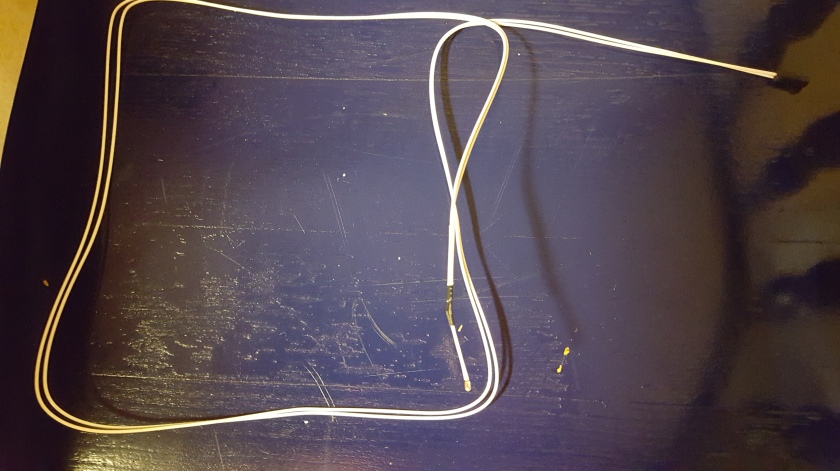
After installing the new one I was able to connect to the printer in Repetier without the red message of doom appearing, and it actually read the temperature accurately.
This update was a bit shorter than normal, probably because this repair didn’t take long at all. I’ll be back on track printing stuff now so we will hopefully see more developments in future updates. See you then!

“Error:Printer stopped due to errors.”
Very useful. Great intuition on that! You told me you bet it was the thermistor before even testing it. Knowing me I probably would have obsessed over the Arduino and why it seems to be working but it’s shouldn’t for days before I figure it out. Like returning my CPU when it was my motherboard all along… I hope. *Cries.*
I was amazed by how easy it was to get in there – I guess that’s what you get with a kit. One printer at my school is broken and there’s no fixing it (Although… maybe you should come check it out…)
Looking forward to seeing your prints!
LikeLike